Our Sleeping Platform Build in Dolores, our 2003 Toyota Tundra
Build philosophy: Light, nimble, functional, simple!
Early stages of Dolores.
Based on several other vehicle builds we had developed, built and used over the years, we felt like we had a really good understanding of what we wanted in our build with Dolores. We knew that we wanted our build to be a bit more modular than some of our others. We wanted to do a sliding drawer that we would be able to perfectly fit our camp chef stove, all our dry pantry goods, plates, bowls, and other kitchen goods in. We also wanted some storage under the bed area for things like backpacks, fly fishing gear and the ability to transport our bikes inside as well whenever we wanted to do that.
Some of key considerations we had in mind while doing this build:
Balanced - offset the weight of the 26 gallon fuel tank
Simple - minimal moving parts
Strong - this truck will be subjected to steep and rough roads, reliability is key
Modular - ability to sleep one or two people with or without additional gear
Ability to still carry tall items, such as bikes
Aesthetically pleasing, we love seeing the natural wood grain!
So with all that in mind we built a system in the back that allowed that and also aided in balancing weight in the back.

We used a floating floor underlayment to help prevent any squeaking of the wood against the truck bed floor.

Baseplate in and cut in around wheel wells and fuel port.

Sealing baseplate to help protect it from moisture.

Marking holes for the carriage bolts that will secure the baseplate to the truck. We wanted this to be really strong since the drawer will leverage off the floor when fully extended.

Our friend Brad helping in the late hours. He has been a generous resource over the years with an incredible fine finish wood working background. He picked fun at us a lot during our build.

Driving in pocket screws.
Drivers side storage compartments. Three line this side and are generally used to store things that we access often with the lifting side window.


Marking out the passenger side storage compartments. these are made a bit taller to store larger items. These were installed on the passenger side to offset the weight that a 26 gallon fuel tank generates that is on the drivers side. The width of the boxes was based off of the space needed for our air mattress to fit.

Center divider going in with ledgers to support the tops that will be the bed platform.

Lots and lots of pocket screws.

Passenger side drawer housing in. The drawer will slide along the floor with additional help of drawer wax.

All the tops made for the drivers side half. The tops are made so that they can be set below on the floor of the truck easily to give us a bench inside if the weather is really foul, or if only one of us is traveling the truck they can have some addition gear storage if needed.

Christina, happy as could be, testing out the mattress setup in the truck for the first time.

Tops of the driver side.

Tops of the box sitting on the floor so that we can use it as storage or transportation of bikes or other tall items.

All the wood drying in the house after being sealed.

Routering out channels for the drawer bottom to slide easily over the carriage bolts that hold the baseplate down.

Drawer coming together with routered slots for vertical dividers.


Christina applying wood sealer to help prevent water damage.

No beer while power tools run, but when paint or sealer comes out its a different story.

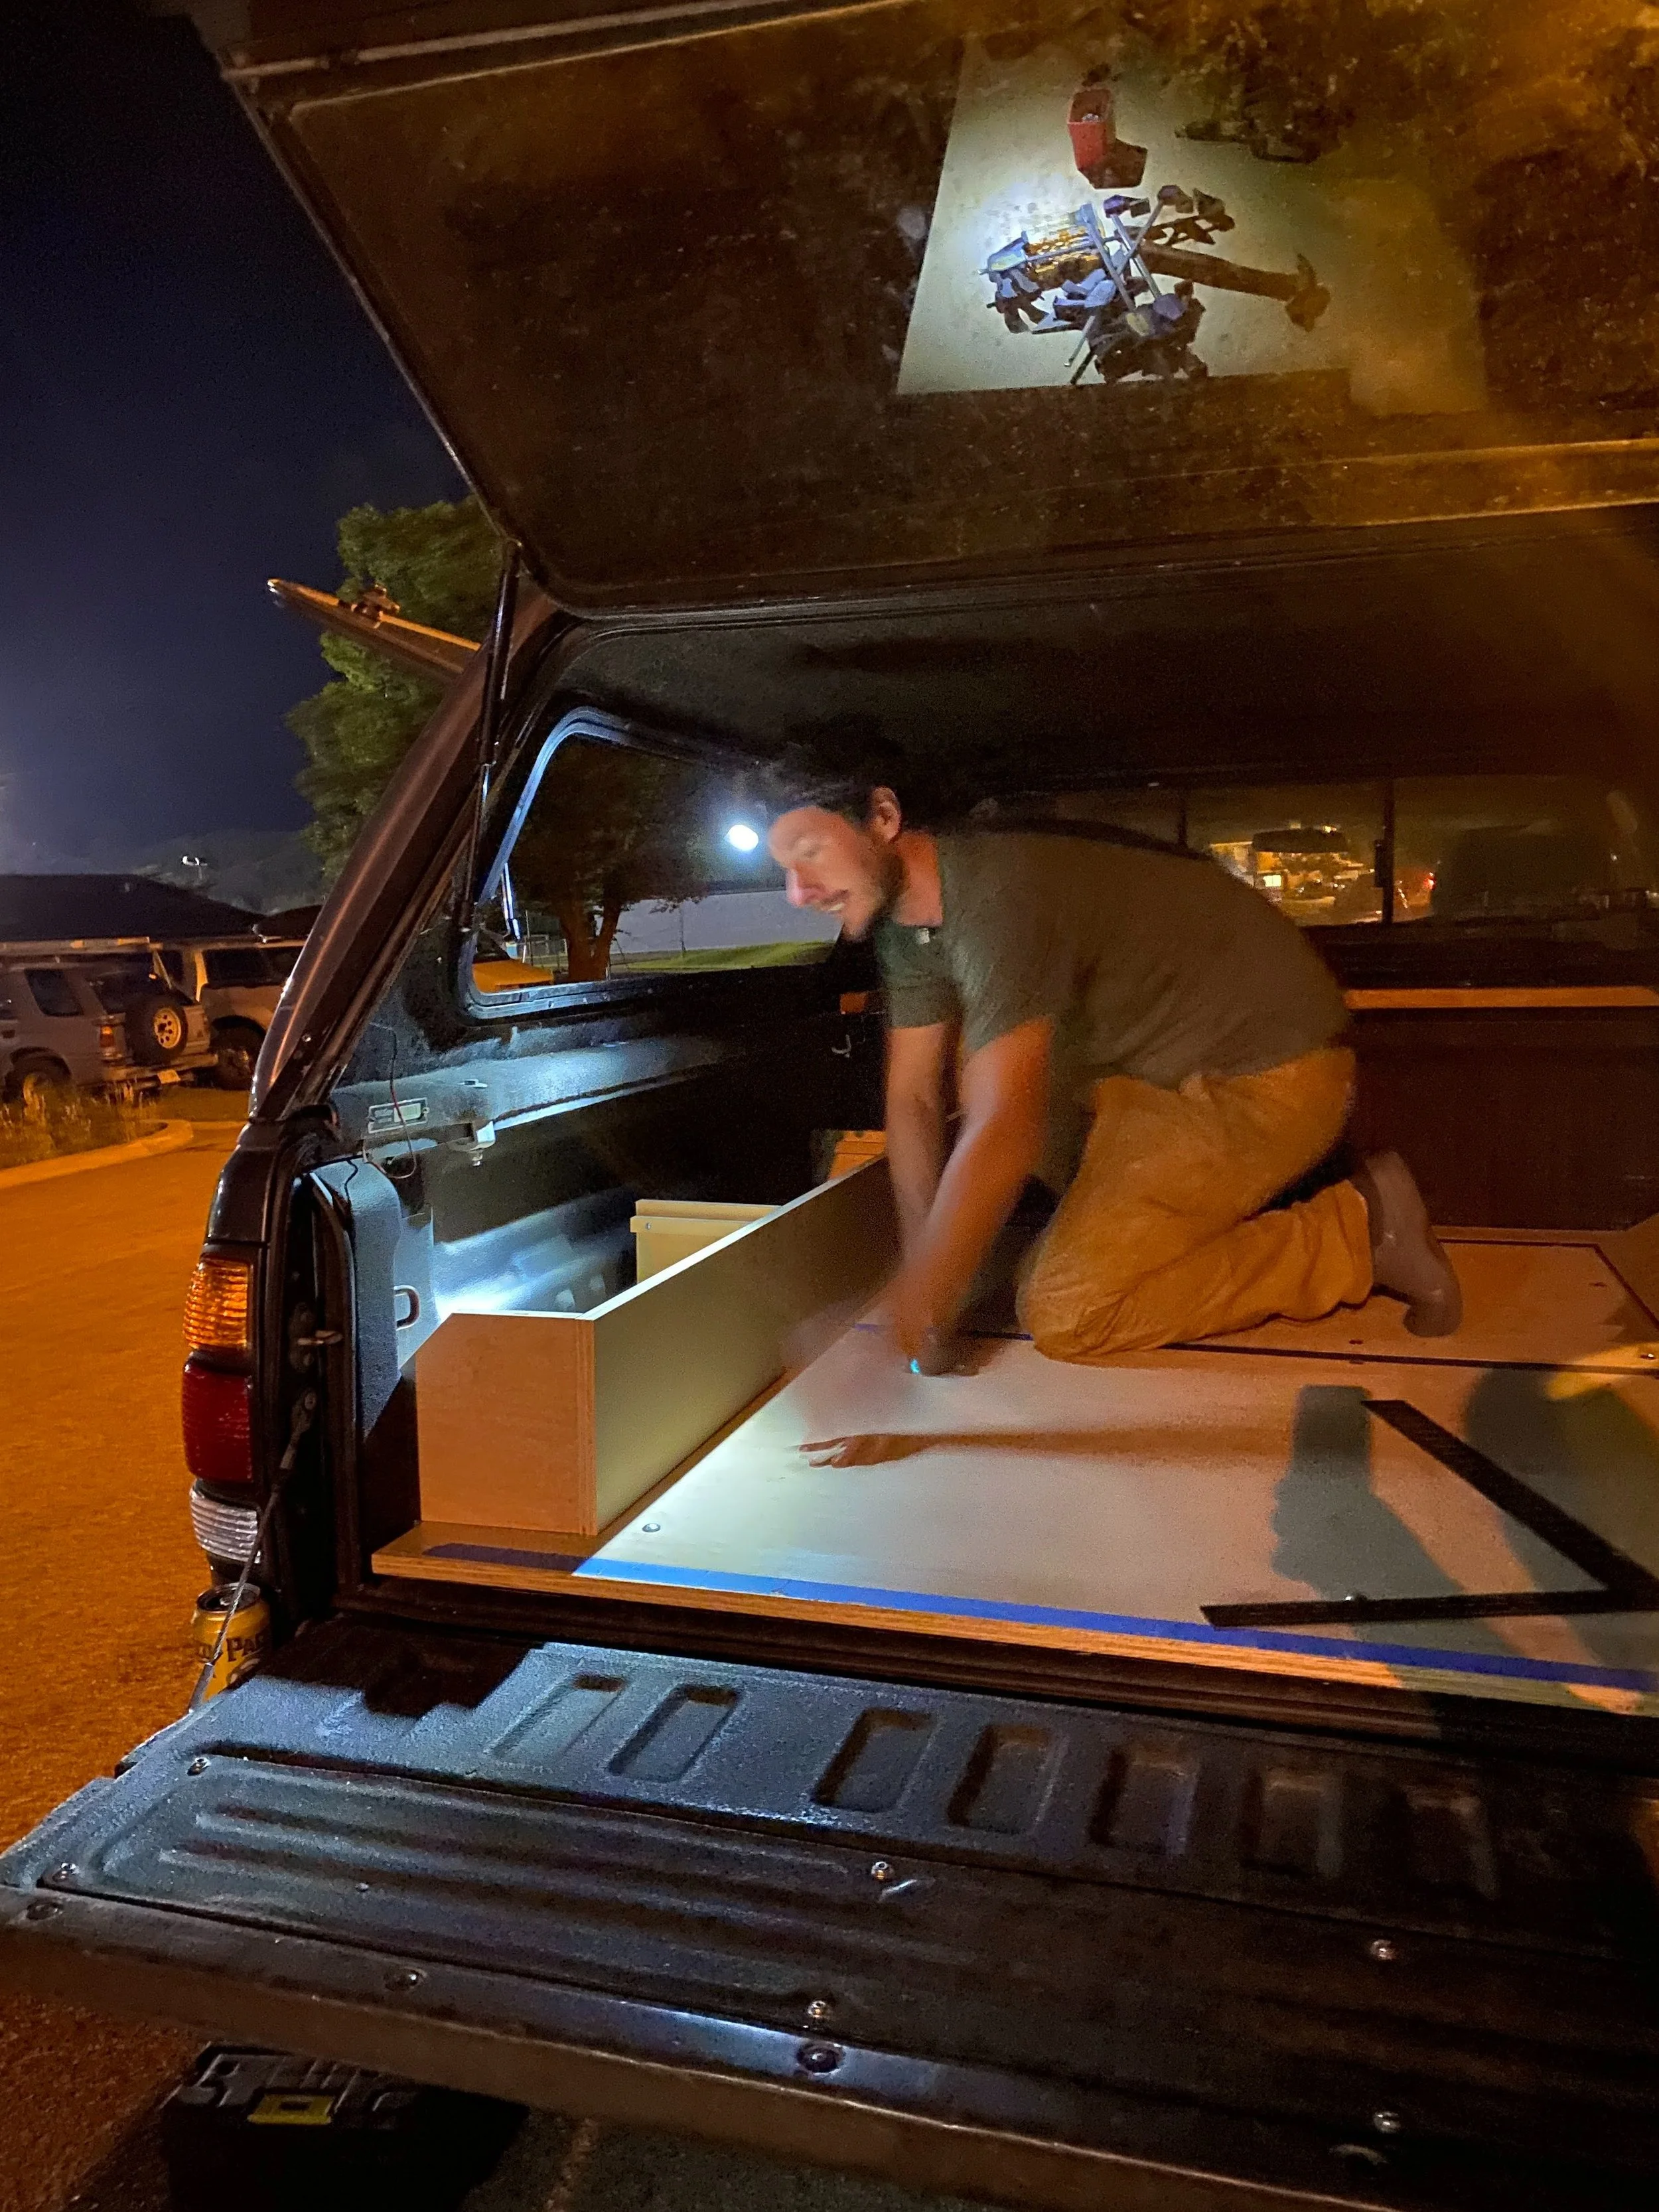
Drawer assembled and being loaded with gear on the evening before we left Colorado to drive to Maine. In the continued name of simplicity the drawer simply slides along the floor of the build with the aid of drawer slide bees wax. We did this in favor of drawer slides so that we could keep the drawer as wide as possible and to reduce some weight.
For the whole build we used 3/4” maple plywood. We picked that material based off of it strength, availability, finish, and appearance. We love that beautiful grain of the wood. Especially when it’s covered with a clear coat. All of the joints are made with pocket screws, and for the most part they are all hidden. The only ones that are visible are the ones that hold down the top of the drawer compartment. We left those visible so that if in the future we want to remove that or change it in any the screws are more accessible and easy to remove.
A few photos of the completed system while on a camping trip this spring in Utah.